Preparation is key when embarking on outdoor adventures. At Personally Delivered, we provide a range of compact and portable medical supplies to pack for your next camping, hunting, or fishing adventures. Our carefully selected products ensure you have everything you need to stay comfortable and confident in the great outdoors.
Why Choose Our Medical Supplies for Your Outdoor Adventures
When gearing up for your outdoor adventures, it is crucial to have compact and portable medical supplies on hand. Accidents and injuries can happen anytime, anywhere, and being prepared can make all the difference.
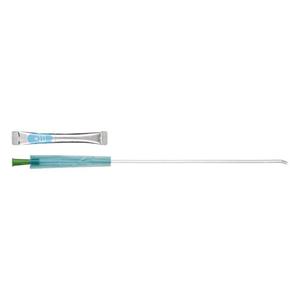
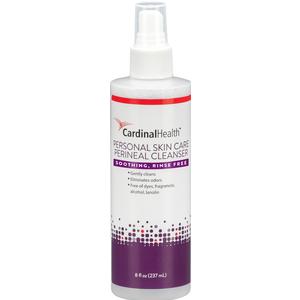
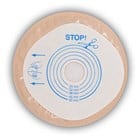
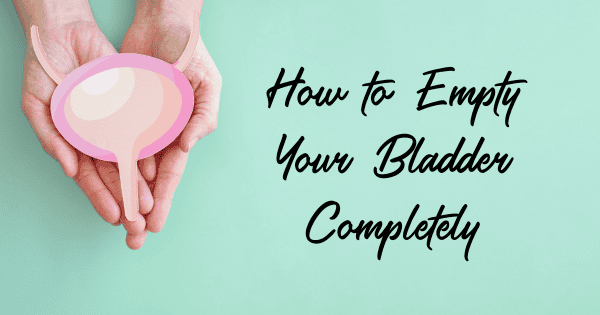
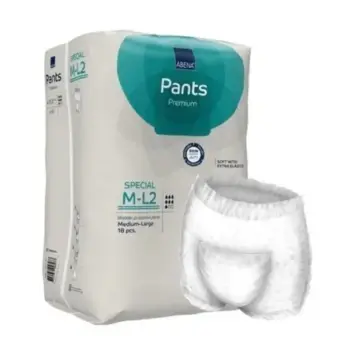
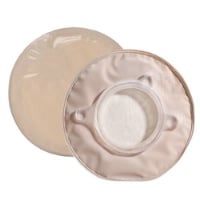
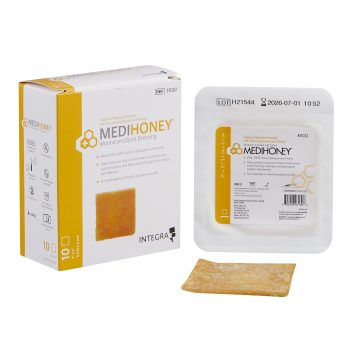
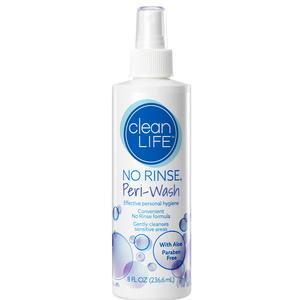
Our selection of compact catheters, ostomy caps, and discreet incontinence supplies are designed to fit into your backpack or gear, taking up minimal space. From waterproof bandages and wound dressings to skin ointments and no-rinse cleansers and shampoos, our products are designed to help alleviate stress and allow you to enjoy the great outdoors.


When preparing for your next camping, hunting, or fishing trip, remember to have the right medical supplies readily available. Gear up with our compact and portable medical supplies.
We receive positive feedback from our customers who rely on our products. Many have praised the quality and effectiveness of our medical supplies, mentioning how our compact and portable options make it convenient to carry them on their outdoor expeditions. Our customers appreciate the peace of mind of knowing they have reliable medical supplies readily available.
")

")